> ## Documentation Index
> Fetch the complete documentation index at: https://help.opus.pro/llms.txt
> Use this file to discover all available pages before exploring further.
# Add Transition Effects
## Turn on auto-transition effects
You can enable **Auto Transitions** using the toolbar on the right side of the editor.
Our system will automatically detect jump cuts in the clip and apply the transition effects you’ve selected. If you want to add more transitions, you can also manually insert them.
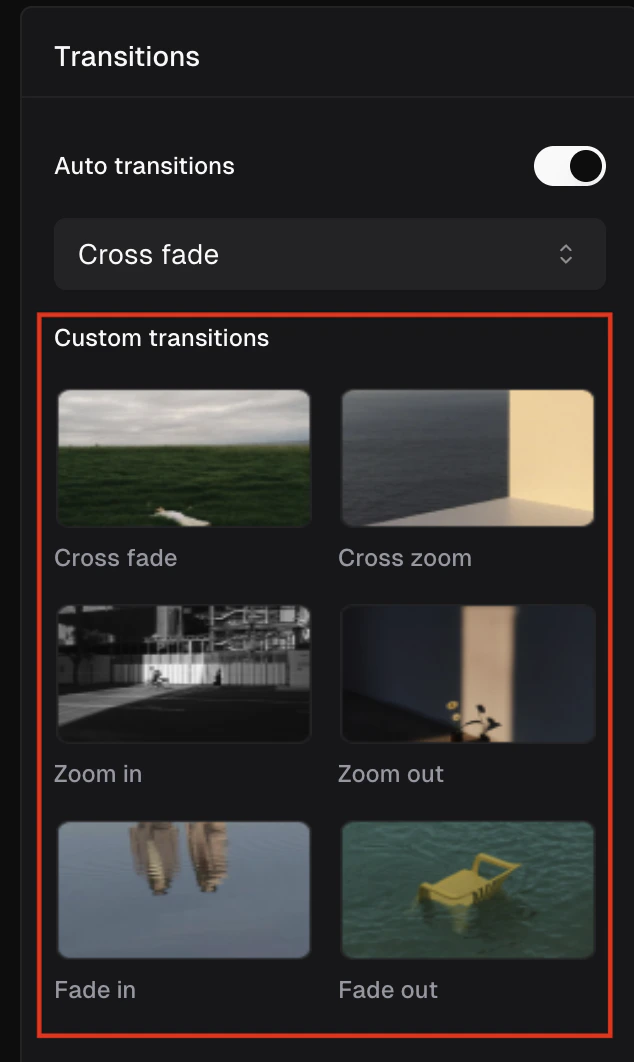
## Manually add transition effects
To add more visual engagement and reduce abrupt cuts between your clips, you can now easily apply **Auto Transitions** or choose from 6 effects on the right sidebar: cross fade, cross zoom, zoom in, zoom out, fade in, and fade out.